
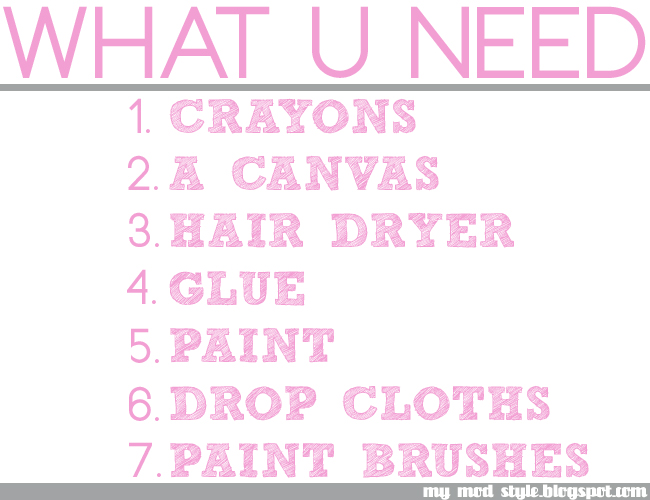
Have you heard of paintings with crayons? I had not and was very excited to see what it was all about. I am going to show you what we did and how we made it happen! Let's start with your supply list:
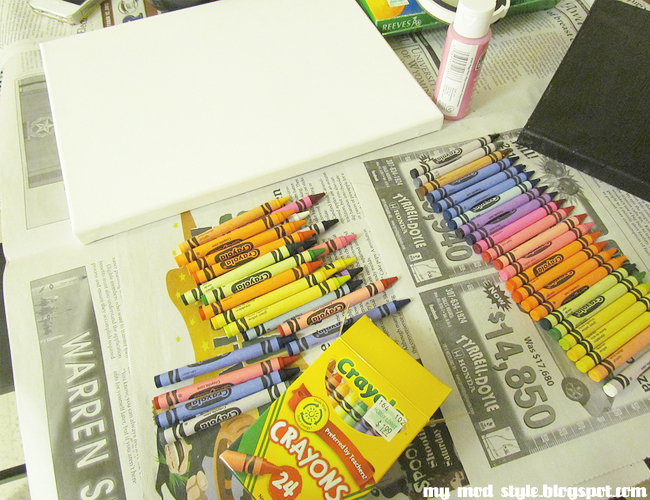
For the glue, you should use a strong epoxy. I tried using my hot glue gun and some of my crayons got blown off by the hairdryer. Most stayed on, but it's best to use something stronger I think. I also suggest a HUGE drop cloth because once the wax starts to melt it kinda just goes EVERYWHERE. There were 3 of us making paintings: Alex, Kara and myself. First I will share Alex's painting...
She then broke crayons in half and glued them around the heart.
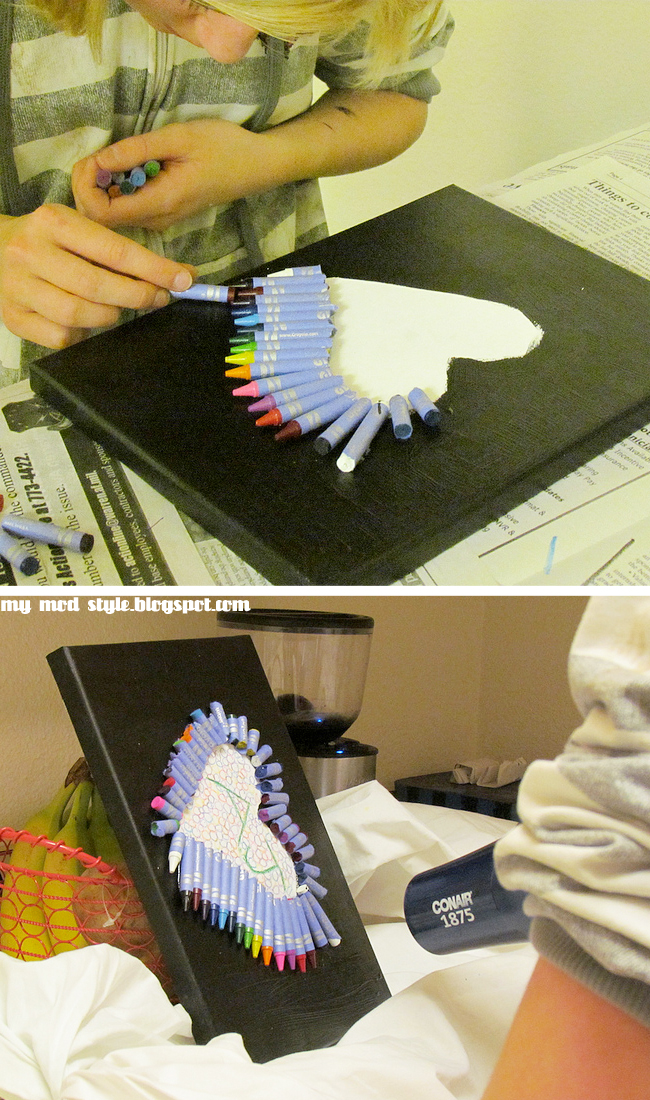
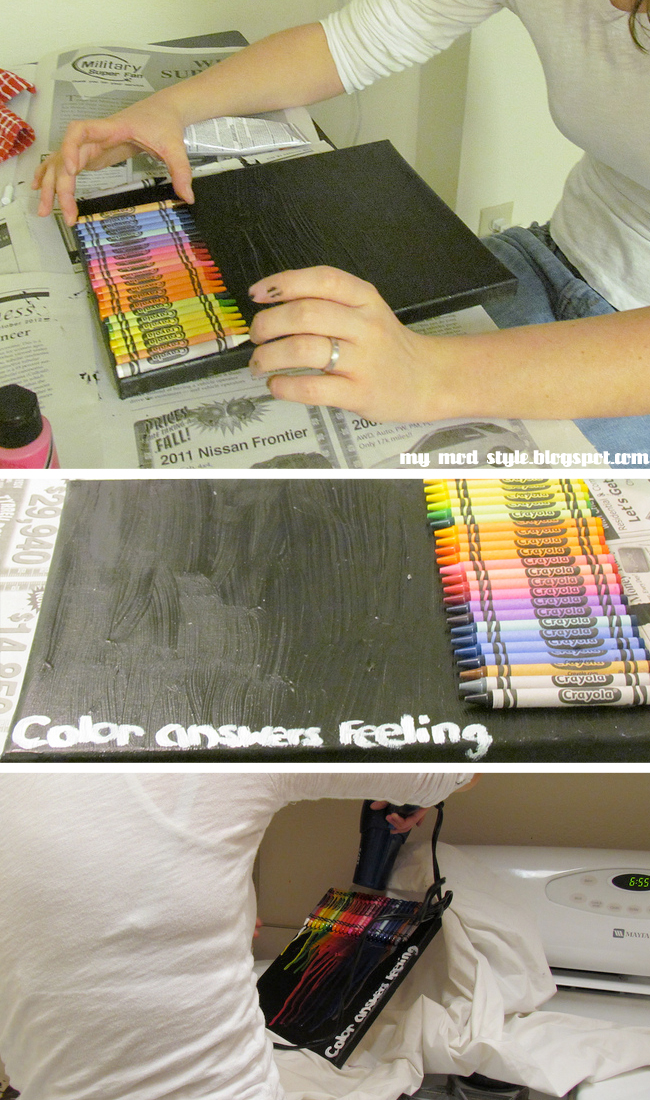
Once the glue dried for a few minutes, it was time to start melting the crayons with the hairdryer.
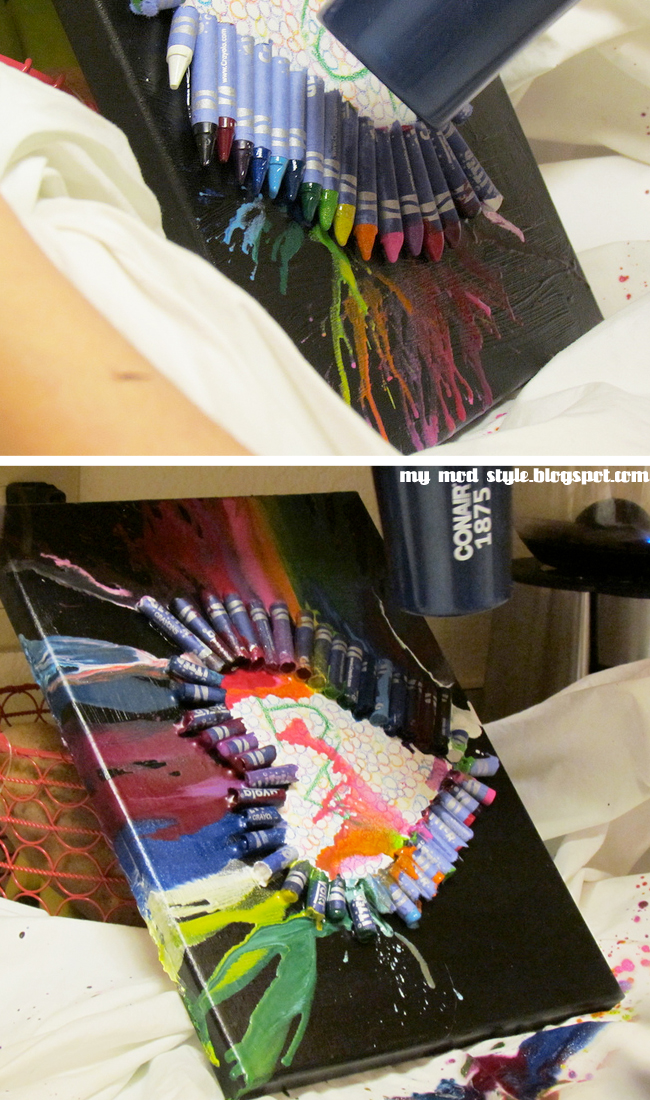
If you have the hairdryer on high, it melts pretty fast. The lower setting is good if you want more control.
Alex let one side dry before flipping the canvas over to melt the other side of crayons.
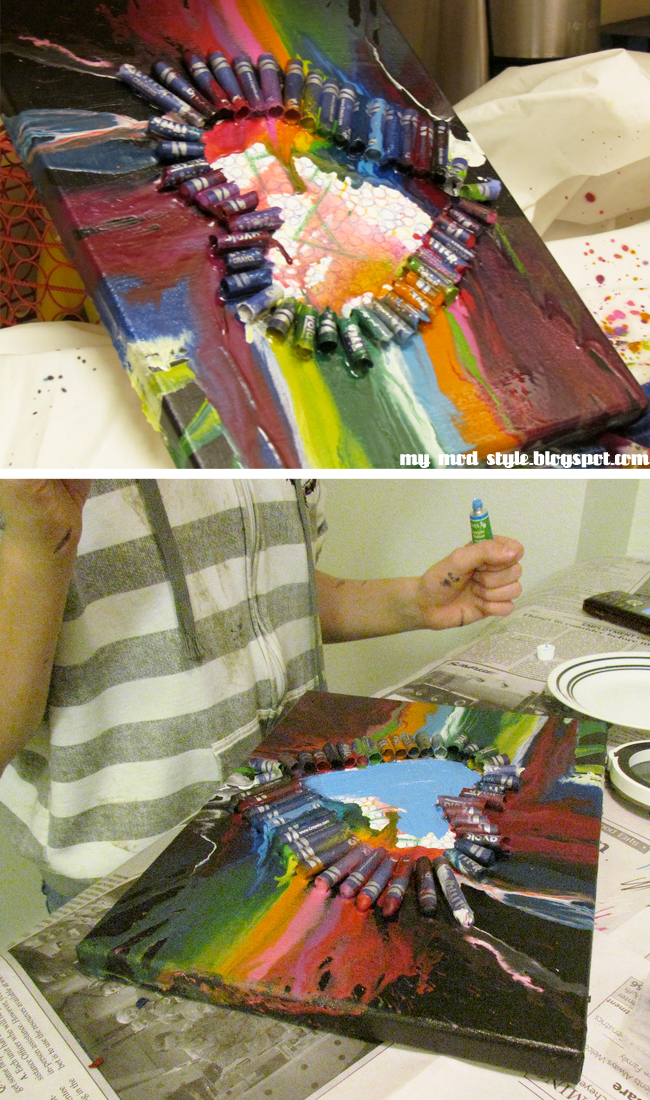
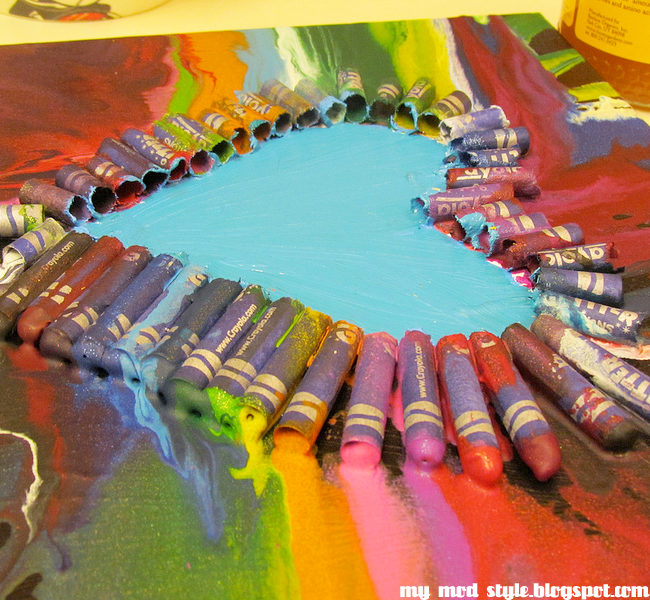
Then she decided to paint the center of her heart blue.
It think it turned out pretty cute!
She also painted her canvas black and glued the full crayons at one end of it.
Kara wanted to melt all of her crayon out, causing waves of color....

Her painting had a very textured look to it. Layers of wax...
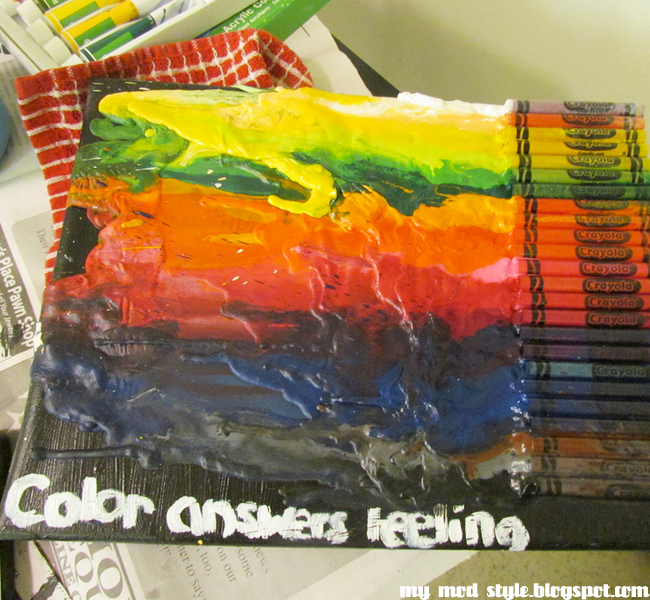
Now we'll look at mine. I decided to paint my canvas pink, go figure!
I tried to pick coordinating colors for mine....
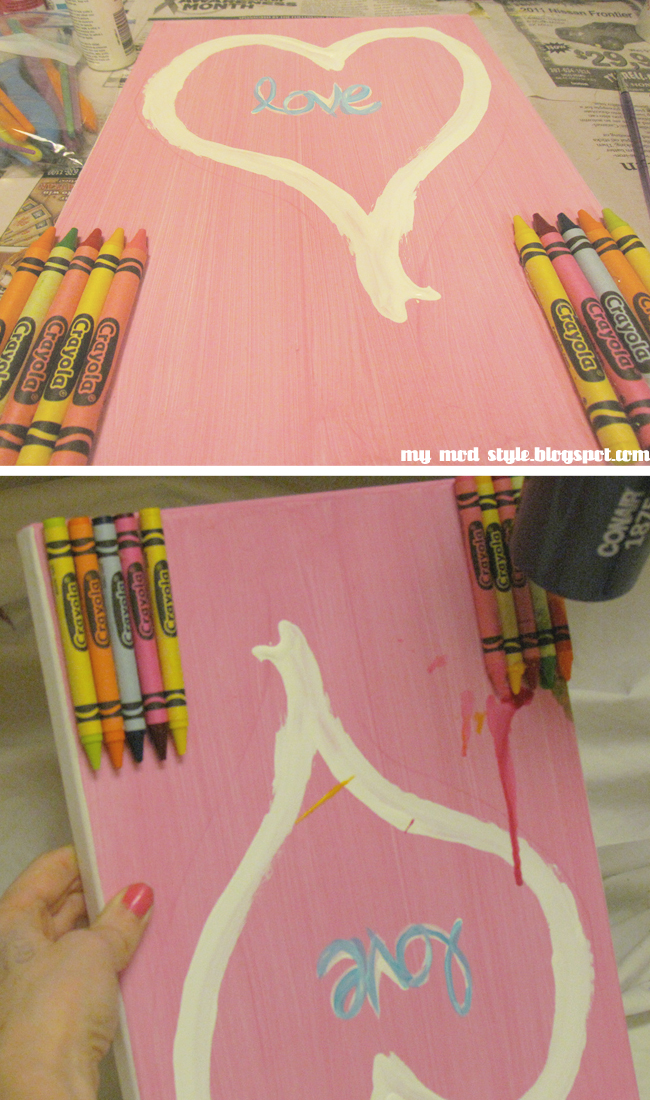
I started with fewer crayons and ended up adding more later...
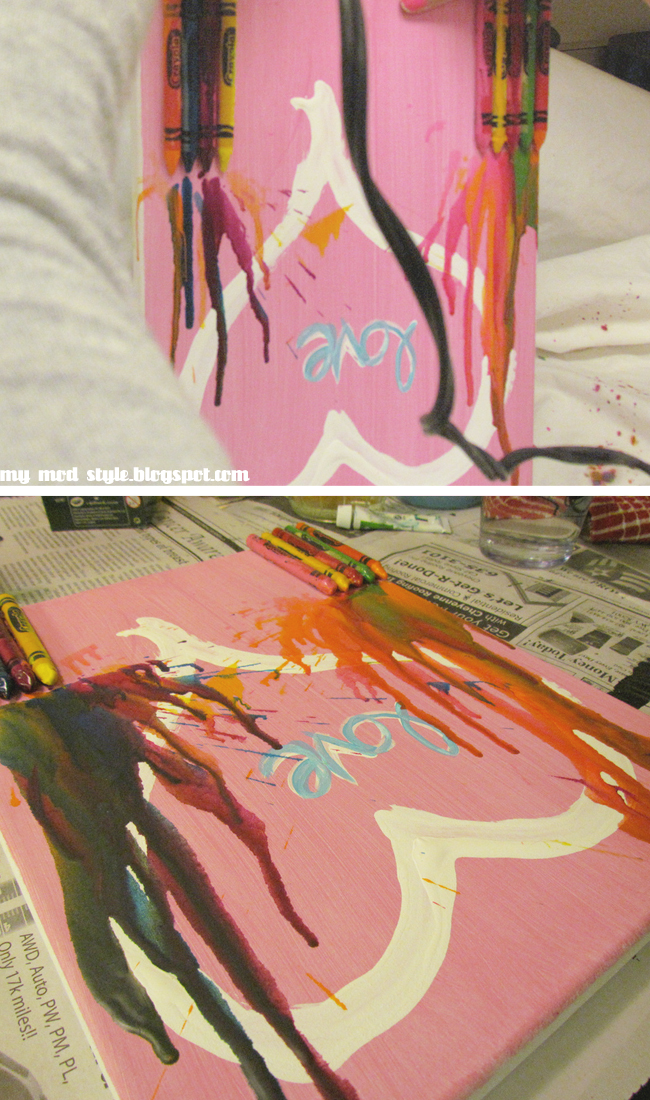
I also felt my painting needed something else, so I painted the words over the wax...
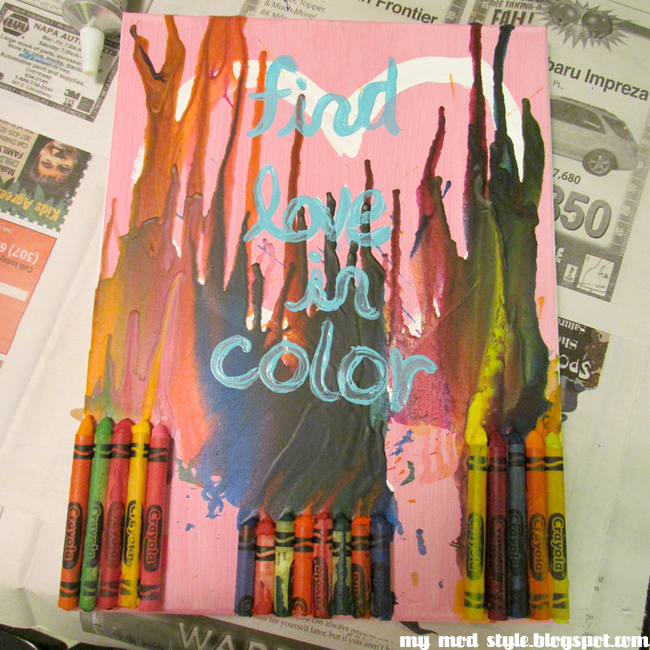
I love color so much, so I thought it was fitting. So, what do you think of our paintings??
It was really fun, just make sure NOT to forget lots of drop cloths!!
Pinterest is full of all kinds of inspiration for all different types of "crayon wax" paintings, you can view them HERE.

This is a really cool idea! I've actually been wanting to make heart shaped crayons by melting them :) xo
ReplyDeleteI've never heard of this before, but it's so cool! All of yours turned out very cute.
ReplyDelete